
Open Auto Entry
To perform Auto Entry for Raiser's Edge from the Workflow, you must select Open Auto Entry option from PaperSave Options window. The Open Auto Entry will redirect you to the Workflow Area of PaperSave in your default browser, where you can select your desired Auto Entry configured Workflow and perform the Auto Entry manually.
Tip: The difference between "Open Workflow" and "Open Auto Entry" option you can perform an Auto Entry operations only when you use "Open Auto Entry" option. In case, you try it from "Open Workflow" then,
1) an error will occur in Workflow item history panel (when Auto Entry configured Workflow event is raised). 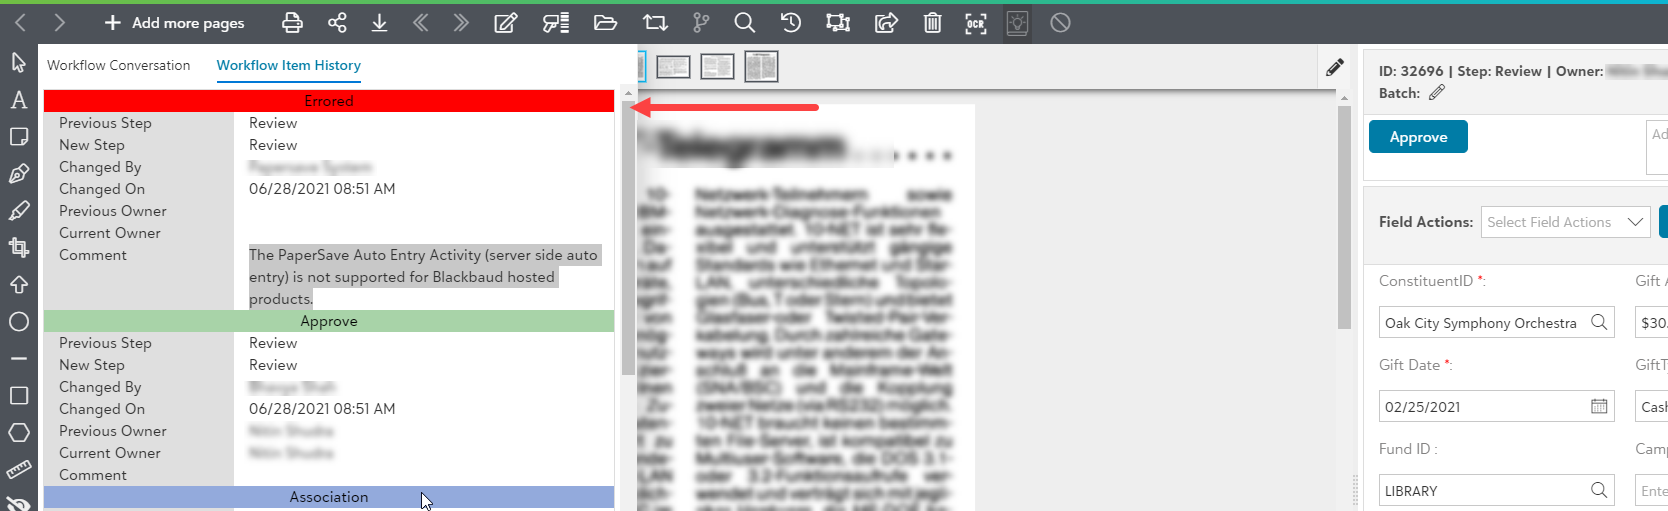
2) an error message will appear on Workflow item list (when tried to create record from the slide-up panel in the Workflow item list)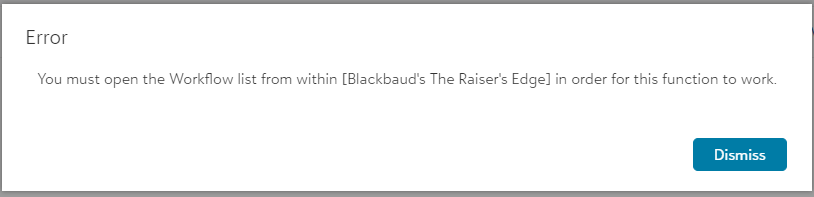
Follow the below steps to create a record from the PaperSave Workflow Area using Auto Entry operation:
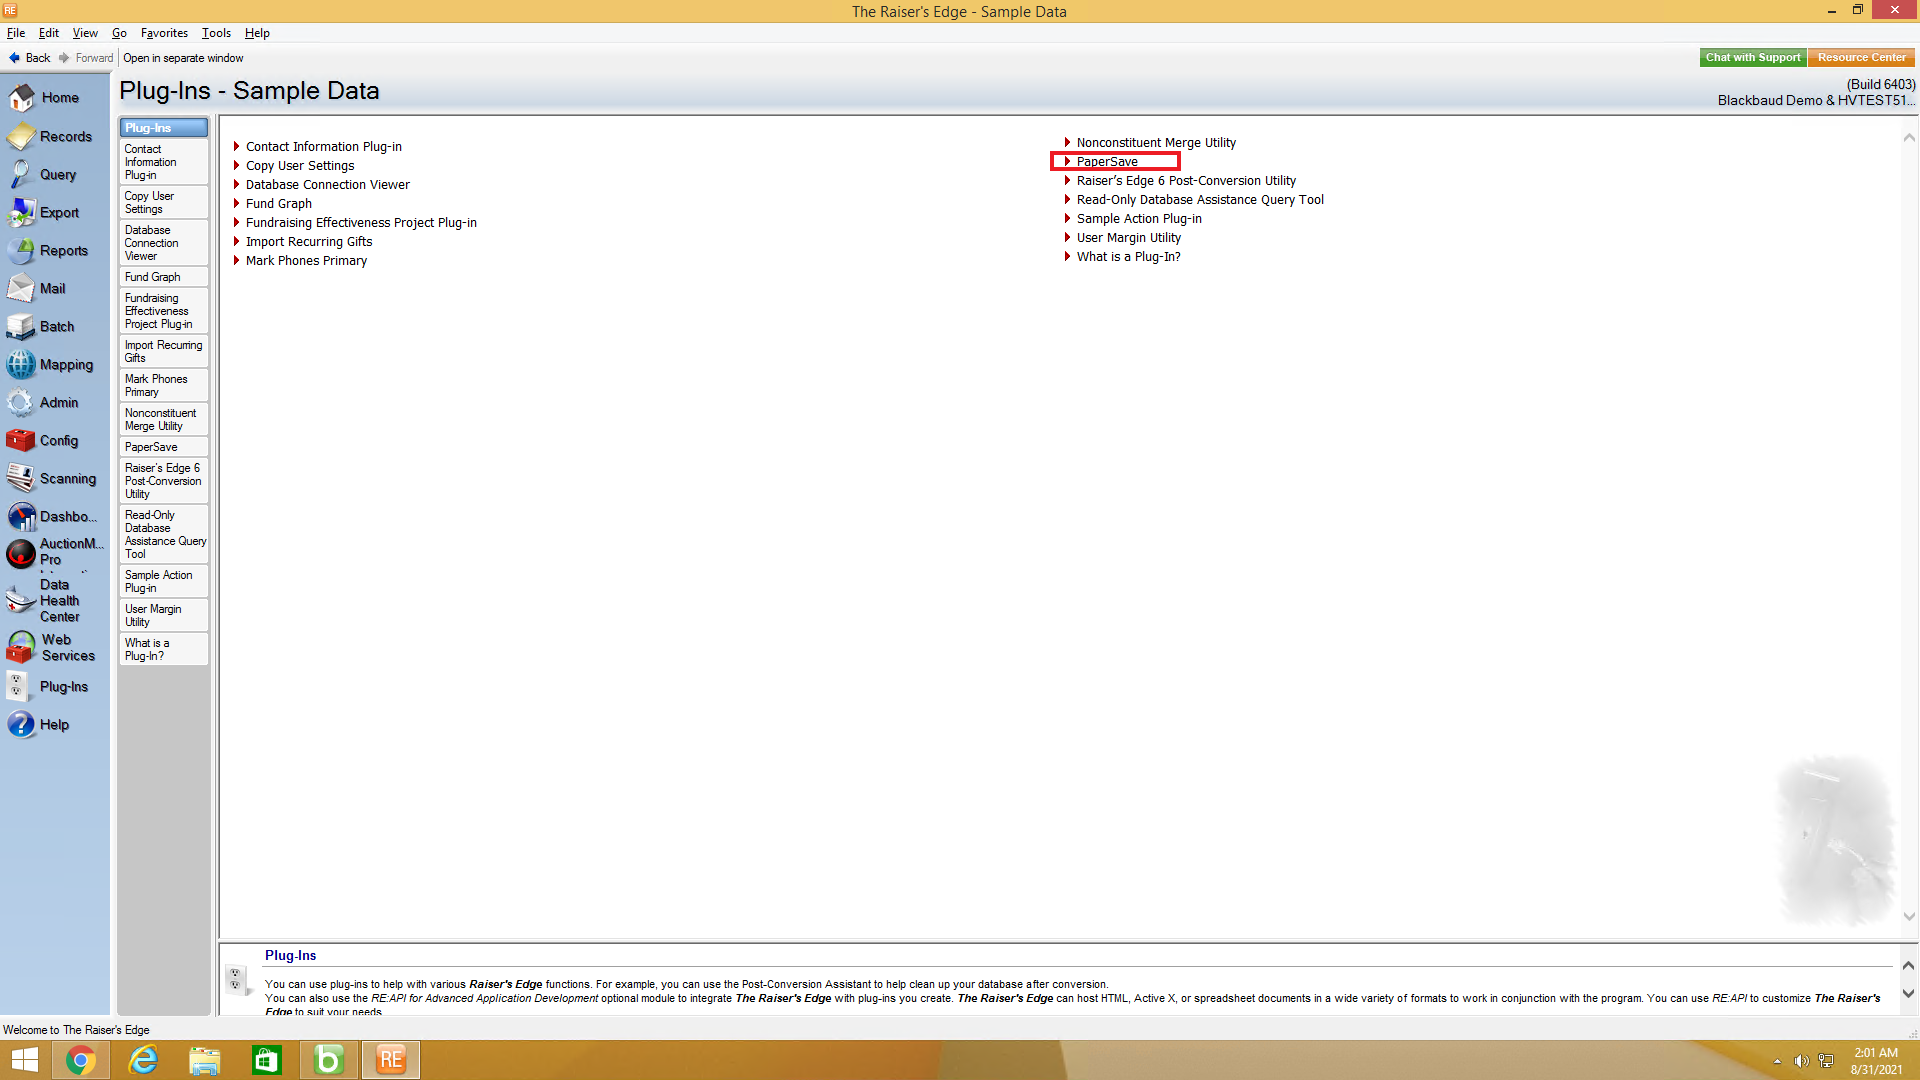
1) Go to Plug-Ins in the Raiser's Edge bar and select PaperSave to open PaperSave Options window as shown below.
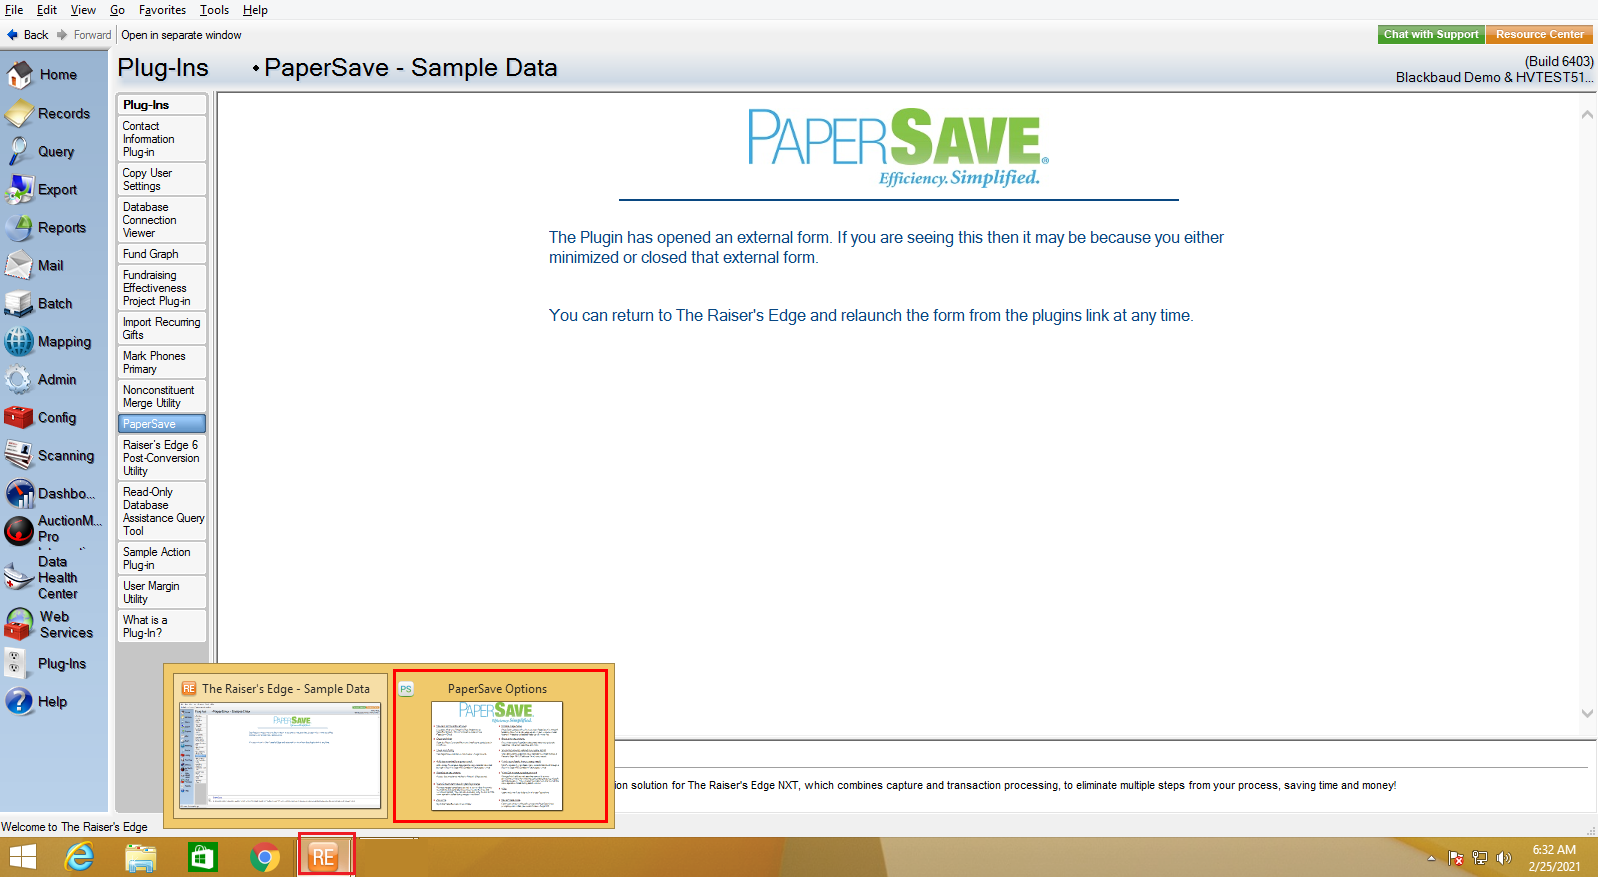
2) Once you click on PaperSave, it opens the PaperSave Options window, which gets automatically minimized. You can hover on the Raiser Edge application icon on the taskbar and select PaperSave Options to maximize the window, as shown in the below screen.
3) In PaperSave Options window, click on "Open Auto Entry" option as shown in the below screen.
.png)
Warning: You must enable PaperSave to access Open Auto Entry and other PaperSave options. Click here to view the steps to enable/disable PaperSave.
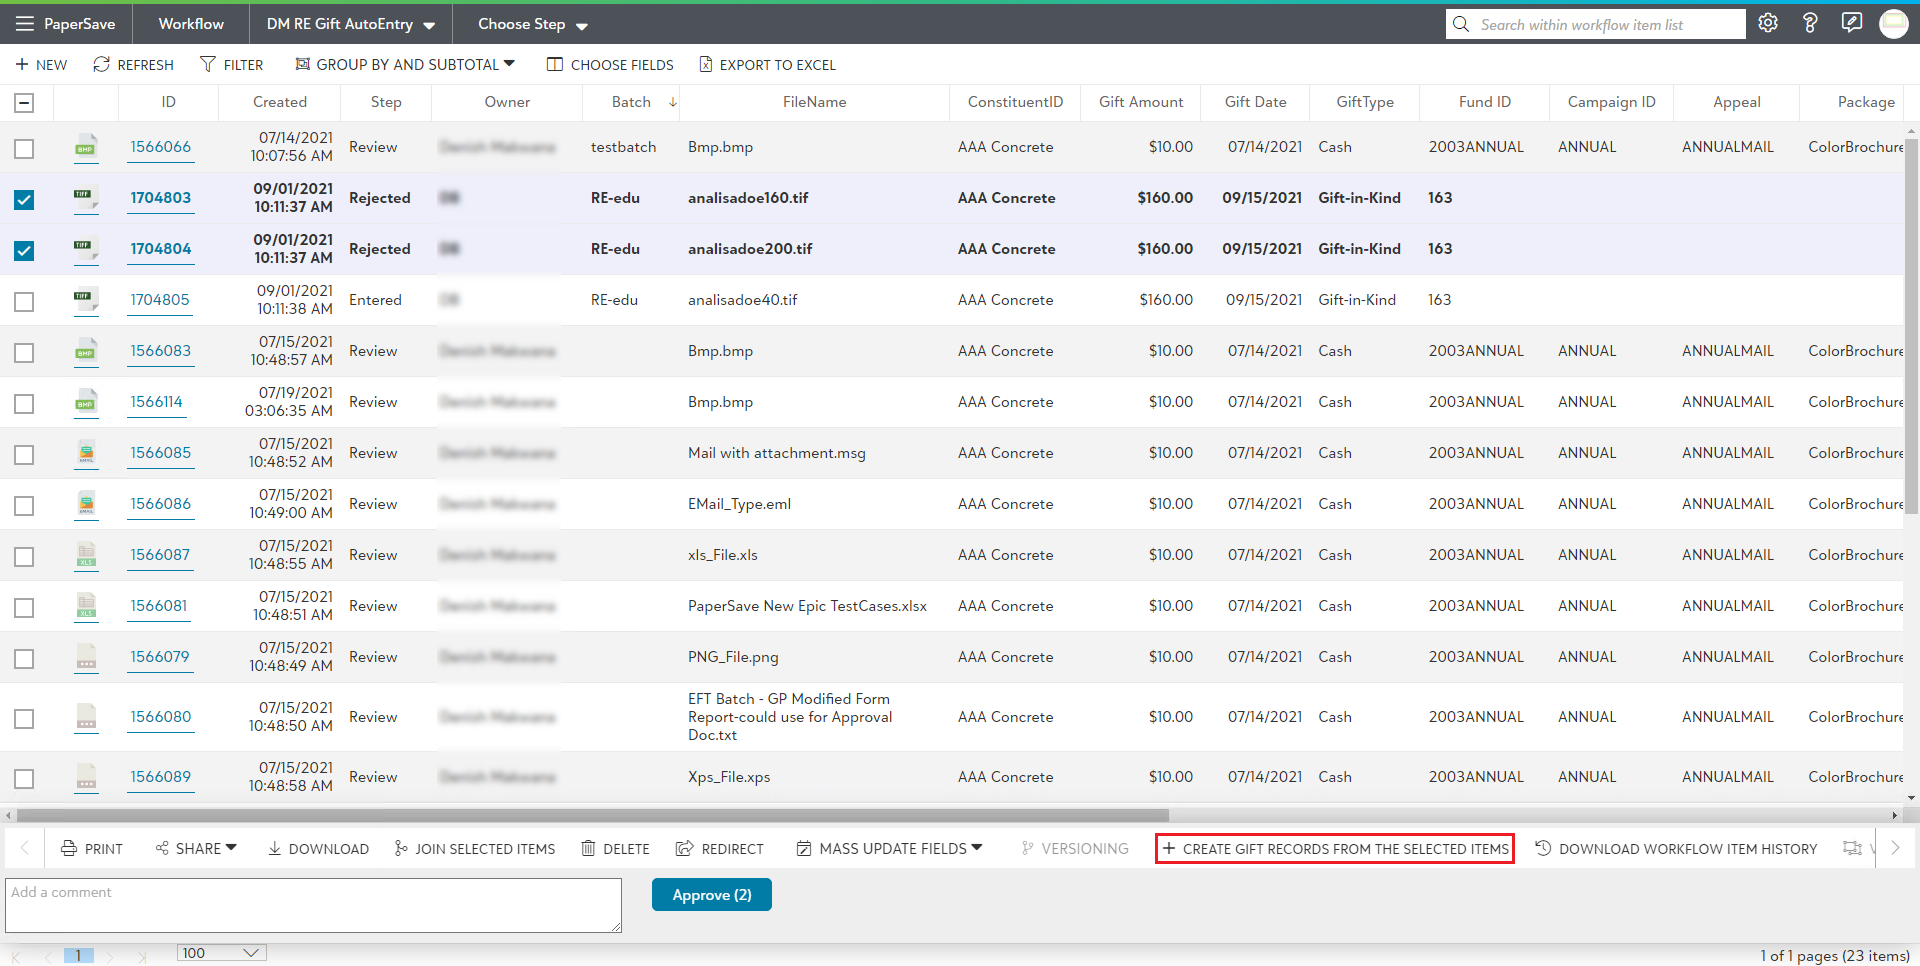
4) Now, you will be redirected to PaperSave Workflow Area where you select the Auto Entry Workflow from the Workflow list, and select the list of items for which you desire to perform Auto Entry.
5) When you select the Workflow items, a slide-up panel appears. Select '+CREATE ____ RECORDS FORM THE SELECTED ITEMS' option from the panel.
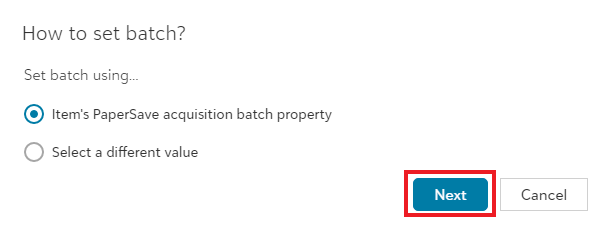
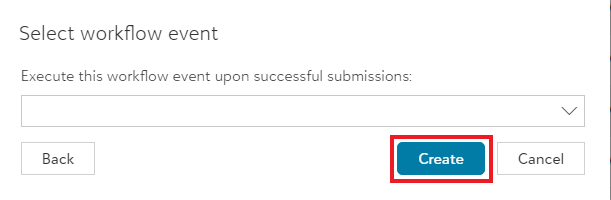
6) Now, choose the desire method to set batch, click on Next and then, click on Create after choosing the Workflow event (optional).
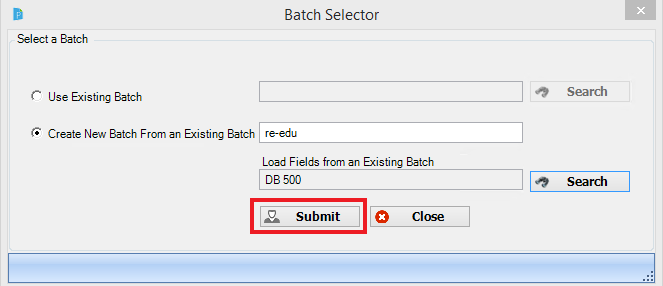
7) Once you click on Create, a Batch Selector dialog box gets prompted from where you can either select the existing batch or create a new batch to add the selected document.
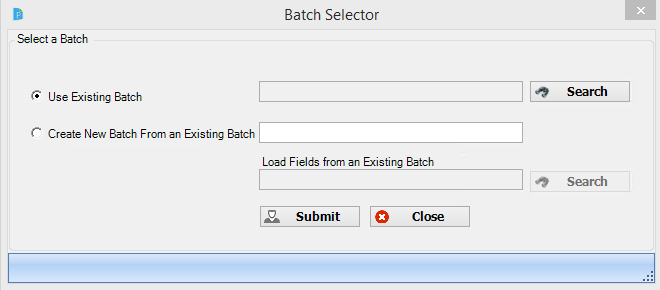
8) After selecting or creating the batch, click on Submit button as shown below.
9) On successful submission, the item will be moved as per selected Workflow event (if selected) and it will display the success message on the top-right corner of the screen as shown below, and on failure, it will show failure message.
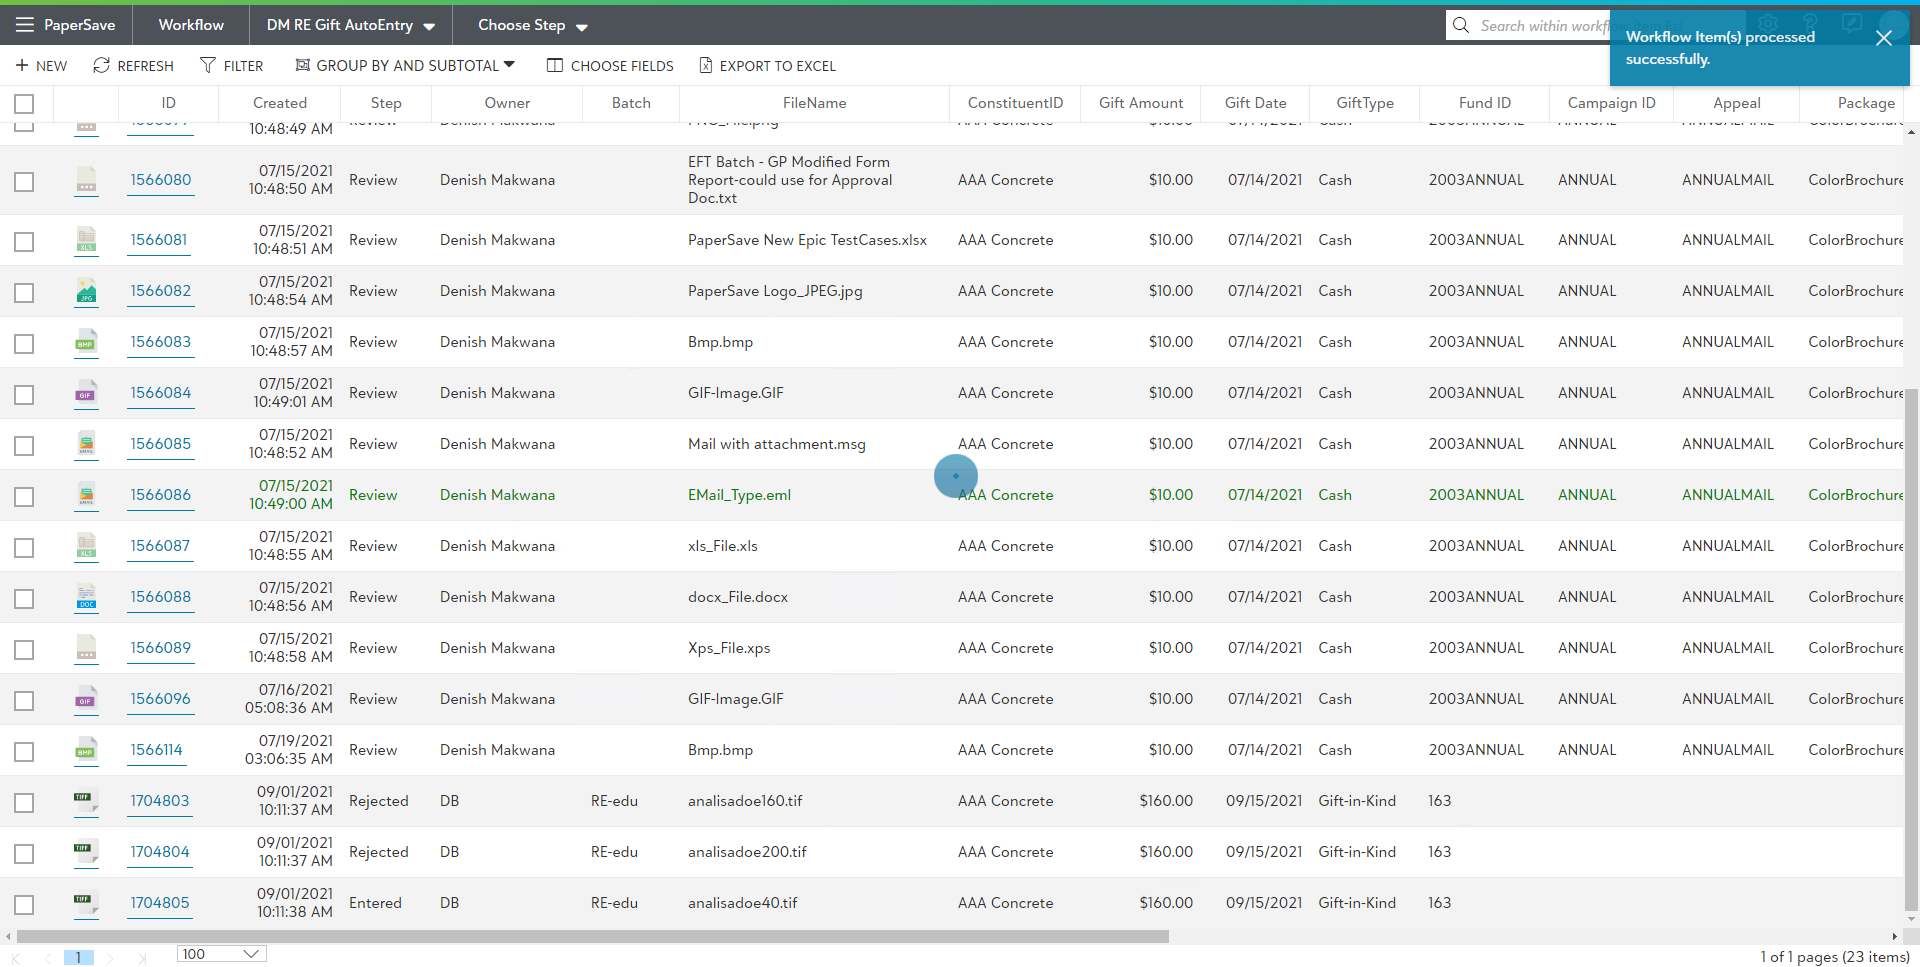
Note: The Workflow item on which Auto Entry was performed will still get displayed in the Workflow list.
10) You can validate if the record was created in Raiser's Edge or not, by navigating to Batch section from the Raiser's Edge bar.
